

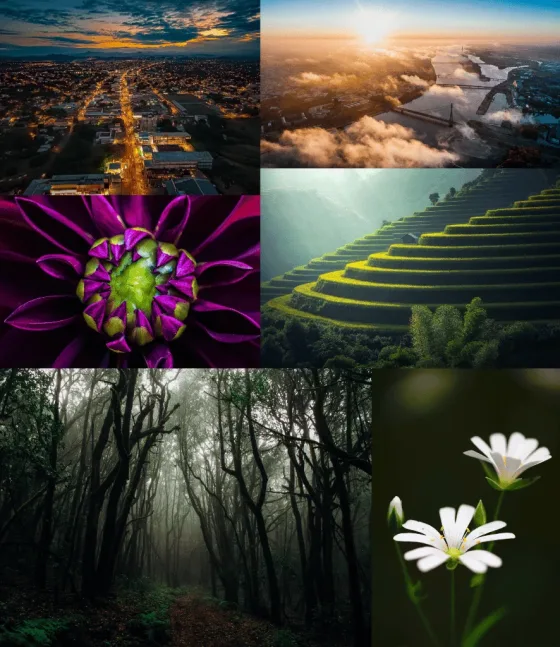
The Ultimate Photography Composition Guide

Contents
Chapter 1
Using the Rule of Thirds to Attract the Viewer:
Welcome to the world of photography composition mastery! In this chapter, we'll explore the foundational composition technique of the Rule of Thirds. By dividing your frame into a grid and strategically placing your subjects along these intersecting lines, you'll create dynamic and well-balanced photographs that instantly captivate your audience. Join us as we unravel the secrets behind the Rule of Thirds and embark on a journey to transform your photography.


The main subject or the objects to which you want to attract the viewer's attention are placed at the four intersecting points of the lines.

Modern cameras and phones come with an inbuilt grid support which can be turned on through the settings.

How to practice it?
Ask yourself the question what parts of the photo do you want to bring the viewer’s attention to?Don’t stress too much on the shot as it can be adjusted by cropping later on.

Is the Rule of thirds really that important?
The rule of thirds takes the viewer's attention but in some cases, it is better to avoid it. What if we are taking a large landscape shot, a macro shot, or a drone shot? These shots don’t follow the rule of thirds. We will look at some counter aspects in the upcoming chapters.
So don’t take the rule of thirds too seriously(break the rules) and keep experimenting and let your creativity do the magic.
Chapter 2
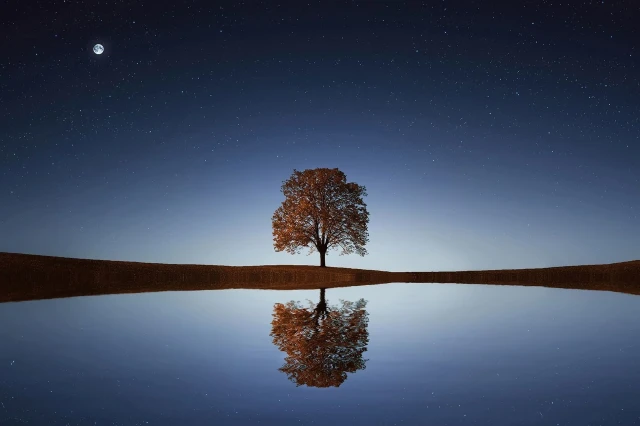
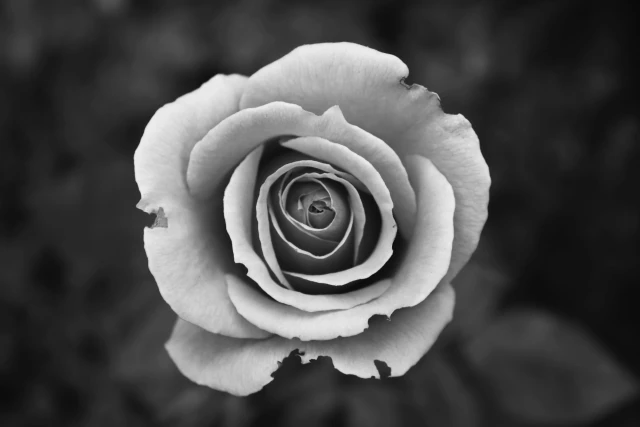
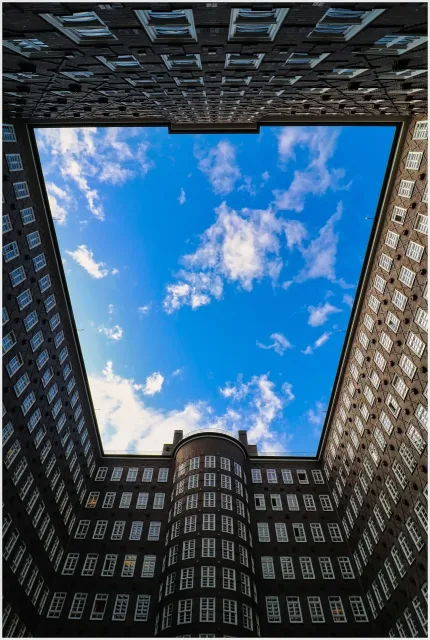
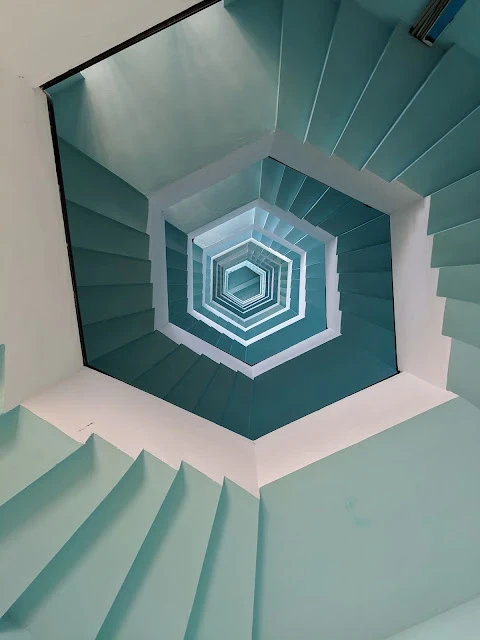
Create a classic mood with the Centered, Symmetrical Composition
Get ready to dive into the realm of symmetry, where order meets elegance. In this chapter, we'll delve into the art of capturing perfectly balanced compositions that reflect harmony and precision. By embracing symmetrical elements, you'll create visually striking images that draw viewers into a world of captivating equilibrium. Let's journey into the world of symmetry and discover how it can elevate your photography to new heights.

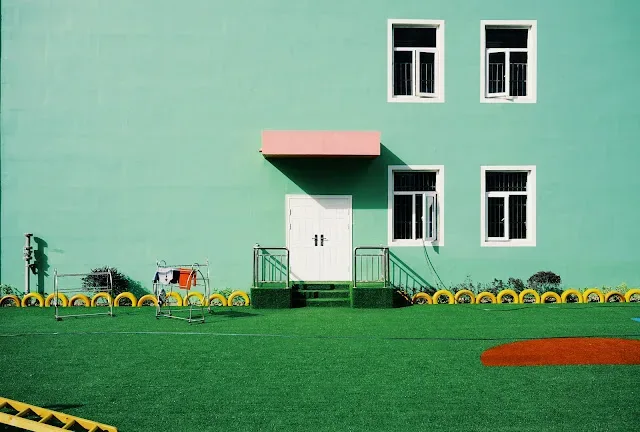
The centered photography composition can be best used when there is one subject to focus on, as having multiple subjects will make the viewer’s eye wander from point to point within the frame.
How do you get the centered composition right?
First, enable the 3x3 grid in the camera, then, focus on the subject which you want to capture in the centermost block of the grid. Now click that fabulous-looking image.
A variation of centered composition is a symmetrical composition.
The symmetrical composition as the name suggests, is created by making a symmetry in the subject.


Chapter 3
Hook the viewer using the Foreground interest
In this chapter, we're turning our focus to the foreground - a powerful tool for adding depth and dimension to your photographs. By introducing compelling foreground elements, you'll transport your audience into the heart of your composition, making them feel like a part of your visual narrative. Join us as we explore the art of foreground interest and learn how to create immersive and captivating imagery.


Wait, but Why?
What's the need to use a foreground when I can
capture a full view in one frame?
When it comes to photographing a large landscape plain and simple click looks boring, so we have to use the
foreground to create the hook in the photo that attracts the viewer’s attention and adds some extra spice to that
photo. Thus, your photo can tell a better story.
And now the question is, how to do it?
Here are some simple ways to use the foreground in the compositions:
Look for any kind of object or a point that can be used as a subject in our click.
Objects! What kind of objects?
Look for those foreground objects that
complement the background and help you tell a good story through your photograph. For example, rocks, flowers,
ripple patterns in the lake, etc.Now position the camera so that the object is at the bottom of the frame as we’re not capturing that object, we are just using it as a compliment to our landscape shot. So we are not completely focusing on the object.
In this way, we can create multiple layers in a shot which includes the foreground, midground, and background. This will take our composition art to a very new level.
Chapter 4
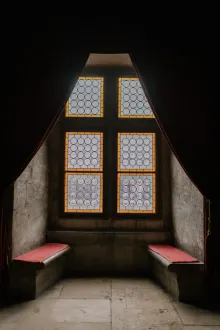
Frame the image without the frame
Welcome to the chapter dedicated to framing photography composition, where you'll learn to use your surroundings as a canvas for your subject. Through strategic placement of elements like archways, windows, or natural features, you'll create layers of depth and context that enhance your storytelling. Join us as we delve into the world of framing and discover how it can turn your photographs into multi-dimensional works of art.
Here we are talking about the natural framing technique used for creating a beautiful composition in which we click the photo through some frame-like object in our scene. The object may be a wall, a gate, a tree, or anything through which you can look at the composition.

The framing technique in photography refers to the process of using elements in the composition of a photograph to frame the subject of the image. This can be achieved through the use of natural elements, such as trees or doorways, or through the use of man-made elements, such as windows or archways.
There are several advantages to using the framing technique in photography:
1. It helps draw the viewer's attention to the subject: By using elements in the frame to surround the subject, the viewer's eye is naturally drawn to the center of the image.
2. It helps create depth and dimension in the photograph: By including elements in the foreground and background of the image, the framing technique can help create a sense of depth and dimension in the photograph.
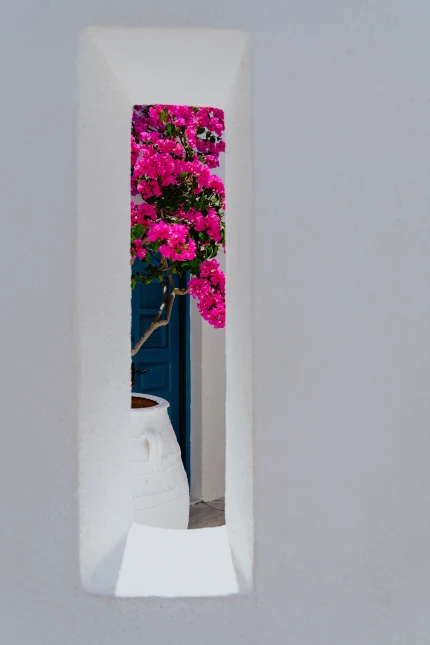
3. It can add visual interest to the image: The use of framing elements can add visual interest to the photograph and make it more visually appealing.
4. It can help tell a story: The use of framing elements can help convey a sense of context and background information about the subject of the photograph, which can help tell a more complete story.
5. It can add a sense of scale: By including elements in the frame that provide a sense of scale, the framing technique can help give the viewer a better sense of the size and proportion of the subject.
Chapter 5
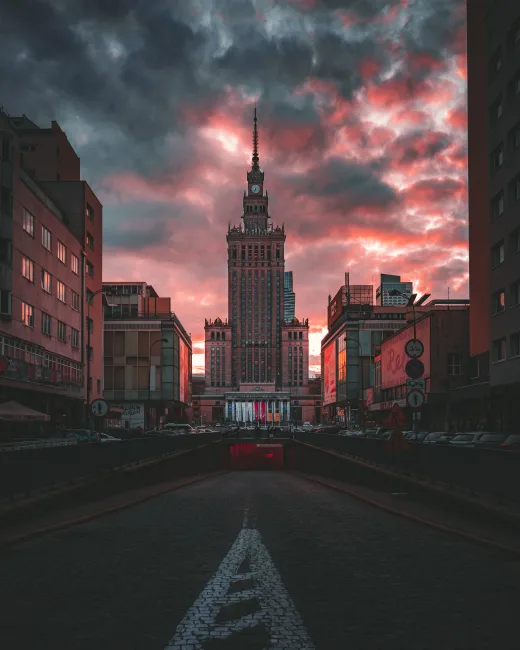
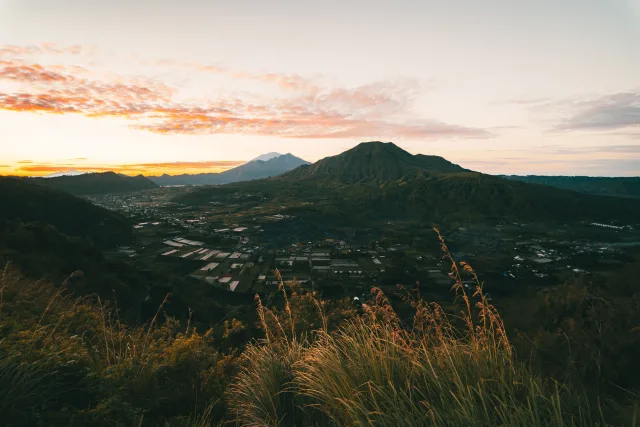
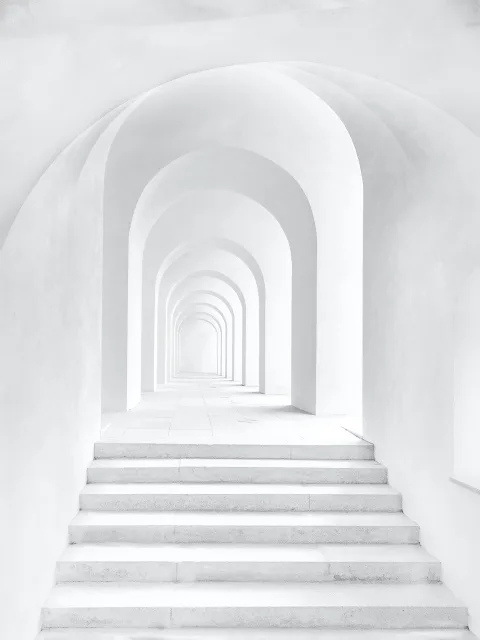
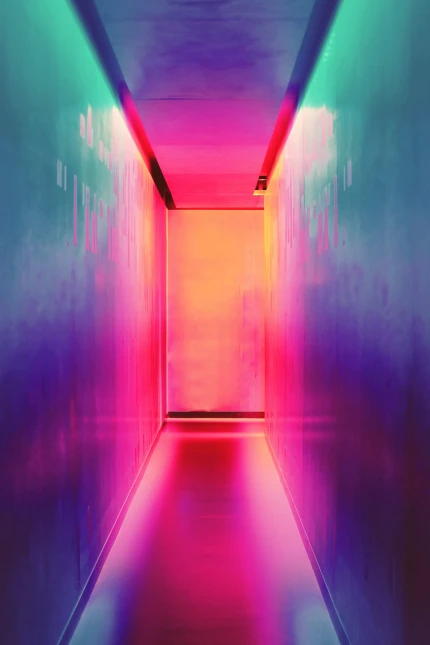
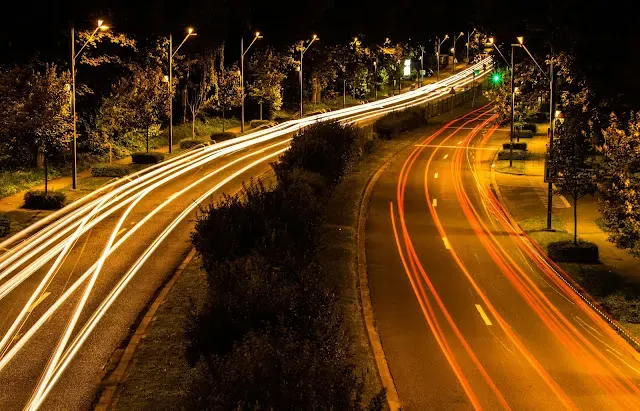
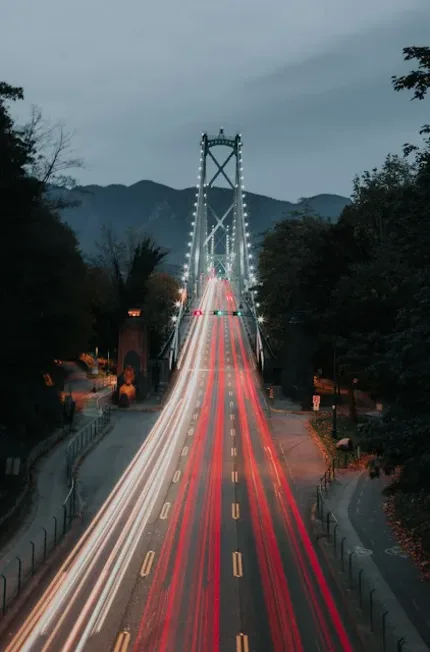
Create a Path Using Leading Lines
Step into the world of visual storytelling with Leading Lines, a composition technique that adds depth and direction to your images. In this chapter, we'll explore how lines—whether literal or implied—can lead the viewer's eye and create a sense of movement and intrigue. By mastering the art of leading lines, you'll gain the ability to guide your audience through your photographs and convey narratives with impact.

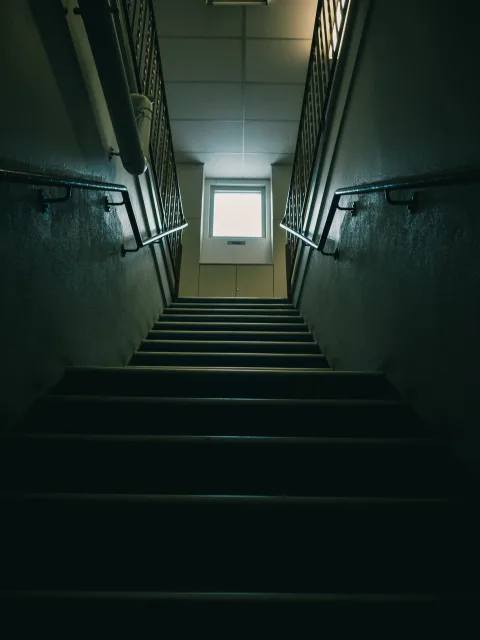


how to find the best leading lines
1. Look for lines in the scene: Leading lines can be created using various elements in the scene, such as roads, fences, buildings, rivers, or other natural features. Look for lines that are prominent and visually appealing, and consider how they can be used to lead the viewer's eye toward the subject of the photograph.
2. Experiment with different types of lines: There are several types of leading lines that you can use in your compositions, including diagonal lines, vertical lines, horizontal lines, and curved lines. Experiment with different lines to see which ones work best for your subject and the mood or emotion you want to convey.
3. Consider the direction and placement of the lines: The direction and placement of the leading lines in the frame can greatly impact the visual impact of the photograph. Consider how the lines can lead the viewer's eye toward the subject of the photograph or to a particular area of the frame.
4. Look for patterns: Patterns created by lines, such as rows of trees or repeating architectural elements, can also be used as leading lines. These patterns can create a sense of movement or flow in the photograph and draw the viewer's eye around the frame.
5. Experiment with different angles and perspectives: Changing your angle or perspective can help you find the best leading lines for your compositions. Try shooting from different heights or distances to see how it affects the lines in the scene.
By looking for and experimenting with different types of leading lines, you can find the best ones for your compositions and create dynamic and engaging photographs. Remember to also consider the direction and placement of the lines and how they contribute to the overall message of the photograph.Chapter 6
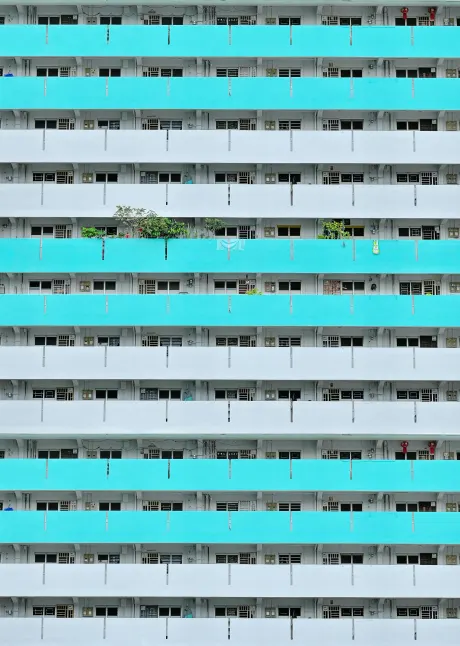
Patterns and Textures
Welcome to the chapter that celebrates the intricate details of patterns and textures. By capturing the rich tapestry of surfaces and repetitive motifs, you'll add depth, tactile appeal, and visual interest to your images. In this journey, we'll unlock the secrets of recognizing, capturing, and composing with patterns and textures, expanding your visual vocabulary, and infusing your photography with dynamic allure.

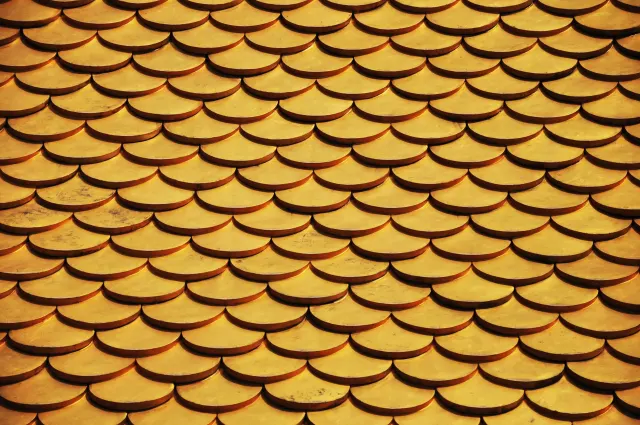
There are several ways to use patterns and textures in your photography compositions:
Look for patterns in the scene: Patterns can be created using various elements in the scene, such as repeating lines, shapes, or colors. Look for patterns that are prominent and visually appealing, and consider how they can be used to add interest to your photograph.
Use patterns to lead the viewer's eye: Patterns can be used as leading lines to guide the viewer's gaze around the frame and towards the subject of the photograph. Look for patterns that lead the eye toward the subject or draw the viewer's attention to a particular area of the frame.
Experiment with different types of patterns: There are many different types of patterns that you can use in your compositions, including geometric patterns, natural patterns, and abstract patterns. Experiment with different patterns to see which ones work best for your subject and the mood or emotion you want to convey.
Emphasize textures: Textures can add depth and dimension to your photographs by creating a sense of tactile qualities in the image. Look for textures that are prominent and visually interesting, and consider how they can add depth and interest to your photograph.
By looking for and experimenting with patterns and textures in your compositions, you can create dynamic and visually appealing photographs that draw the viewer's attention and convey depth and dimension.
Chapter 7
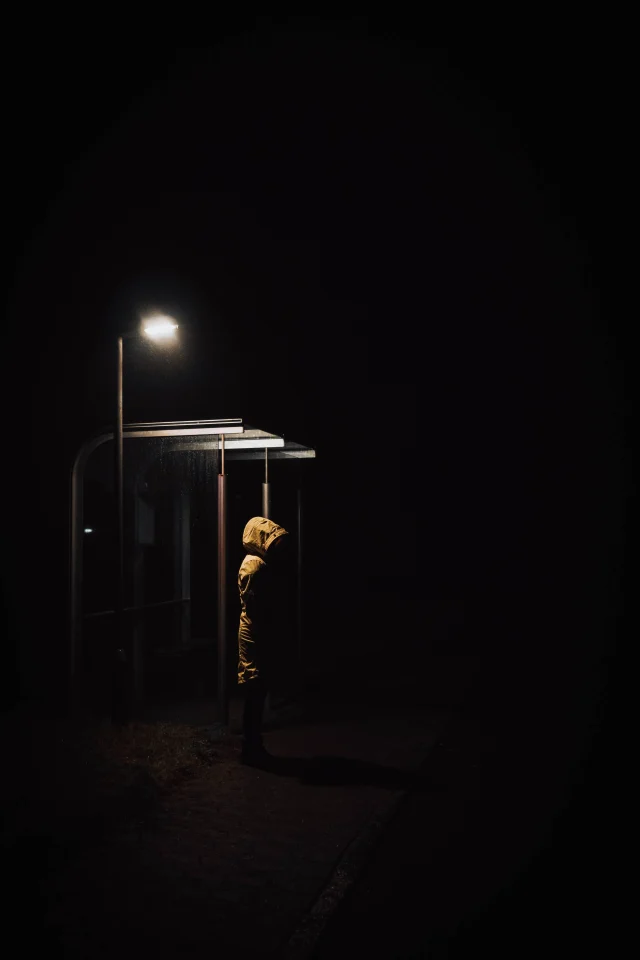
Simplicity and Minimalism
Step into a world of elegance and impact with the art of simplicity and minimalism. In this chapter, we'll delve into the power of stripping away distractions and focusing on essential elements. By embracing negative space and minimalistic compositions, you'll create photographs that breathe and resonate with a sense of calm and clarity. Let's explore the beauty of simplicity and discover how less can truly be more.

Here are some tips for using simplicity and minimalism in your photography compositions:
1. Focus on the essentials: Simplicity in photography is about focusing on the essential elements in the scene and eliminating distractions. Look for ways to streamline your compositions and remove unnecessary elements that do not contribute to the overall message of the photograph.

4. Experiment with symmetry and patterns: Symmetry and patterns can create a sense of order and balance in a photograph, which can contribute to a feeling of simplicity. Look for ways to use symmetry and patterns in your compositions to create a sense of calm and clarity.

By following these tips and focusing on simplicity and minimalism in your compositions, you can create striking and impactful photographs that convey a sense of balance and clarity. Remember to also consider the mood or emotion that you want to convey with the photograph and how the elements of simplicity and minimalism can contribute to this.
Chapter 8
Use different color Combinations for Your Images
Get ready to explore the vibrant world of color combinations in photography. In this chapter, we'll delve into the art of selecting and pairing colors to evoke emotions, set moods, and enhance storytelling. By understanding color harmony and contrast, you'll be equipped to create visually stunning compositions that resonate deeply with your viewers. Join us as we uncover the magic of color and its profound impact on your photography.
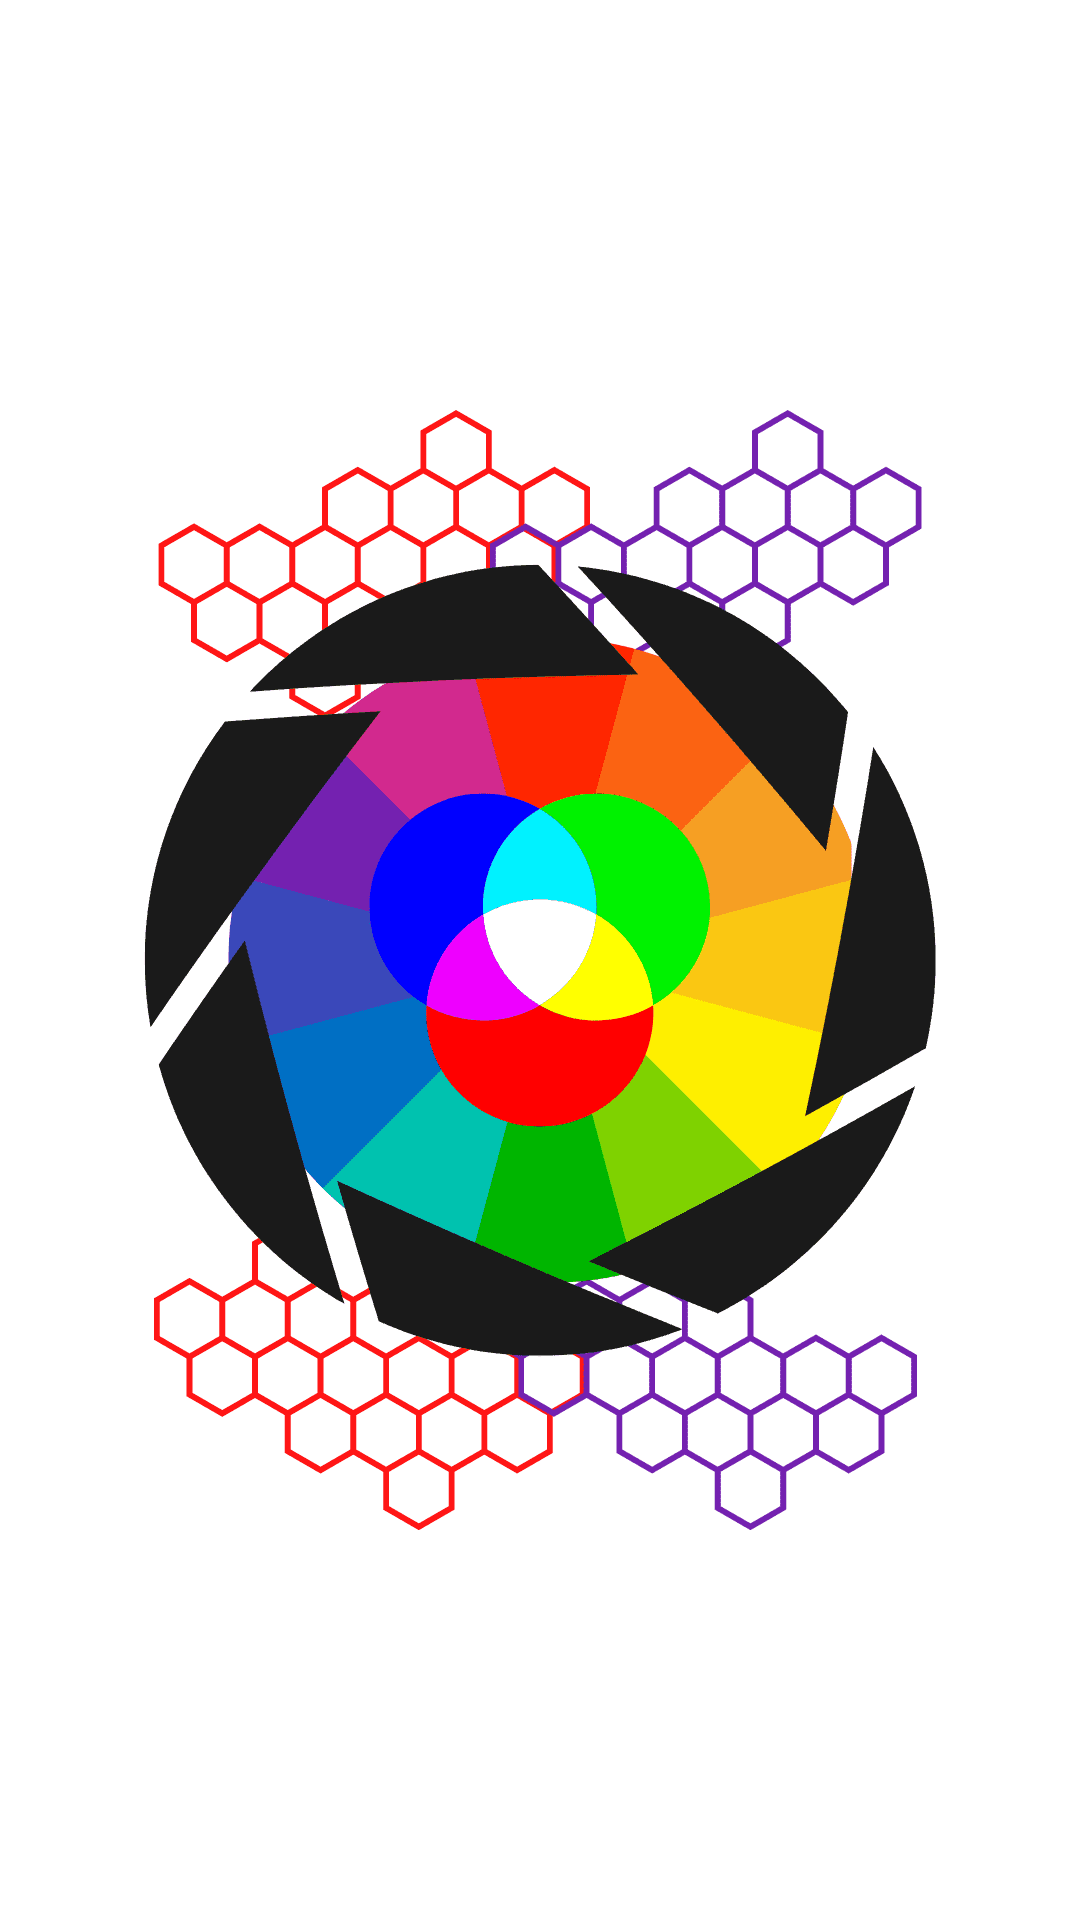
Many different color combinations can be used in photography. Some of the most popular include:
Complementary colors: These are colors that are opposite each other on the color wheel. When used together, they create a high-contrast and visually striking effect. Some examples of complementary colors include red and green, blue and orange, and yellow and purple.
Analogous colors: These are colors that are next to each other on the color wheel. They create a more subtle and harmonious effect than complementary colors. Some examples of analogous colors include blue, blue-green, and green.


- Consider the mood you want to create. Different colors evoke different emotions. For example, red is often associated with passion, while blue is associated with calmness.
- Think about the subject matter of your photograph. Some colors work better with certain subjects than others. For example, a landscape photograph might look better with analogous colors, while a portrait photograph might look better with complementary colors.
- Pay attention to the light. The color of the light can also affect the way colors look in your photographs. For example, sunlight tends to make colors appear more vibrant, while artificial light can make colors appear more muted.
Chapter 9
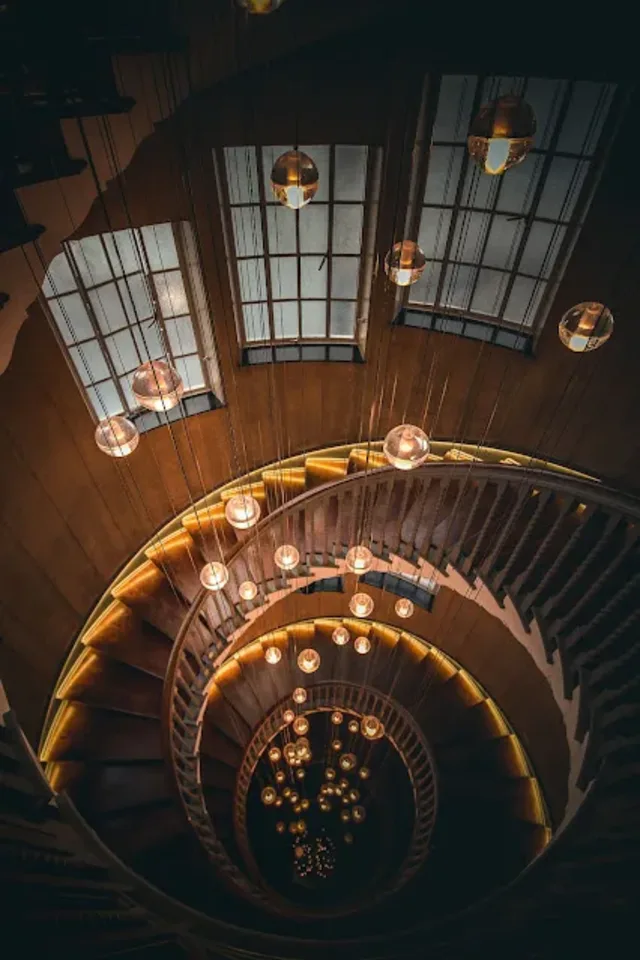
Golden Ratio
Welcome to a chapter that uncovers the artistic magic of the Golden Ratio. By incorporating this divine proportion into your compositions, you'll create harmonious and visually captivating photographs that stand the test of time. In this exploration, we'll delve into the mathematics and aesthetics of the Golden Ratio, equipping you with the knowledge to infuse your photography with a touch of aesthetic perfection.
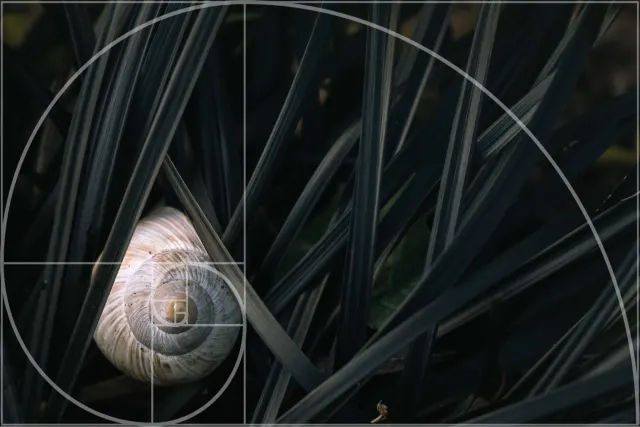
To use the Golden ratio in photography, you can follow these steps:
Divide the frame into sections: Use a ruler or a viewfinder grid to divide the frame into sections that are in the golden ratio of 1:1.61.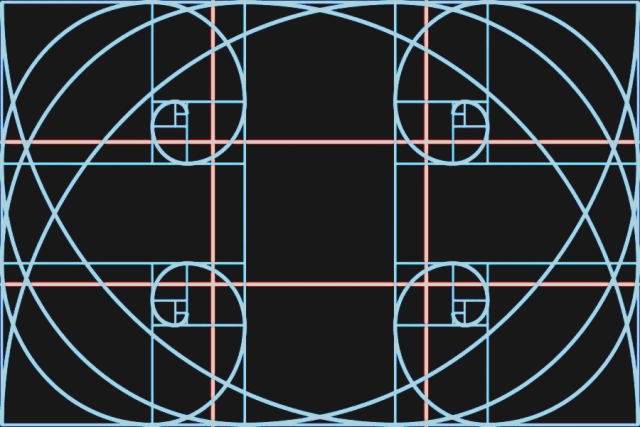
Consider the composition and placement of the subject: Consider the placement of the subject within the frame and the direction they are facing or looking. You can also consider the use of negative space and other compositional elements, such as lines, shapes, and patterns.

There are several variations of the Golden ratio that you can use in photography, depending on the subject matter and the desired effect. For example, you can place the subject at the center of the frame, or you can place the subject at one of the vertices of the triangle formed by the lines. You can also use the Golden ratio in combination with other principles of photographic composition, such as the rule of thirds or the golden spiral.
Bonus Chapter
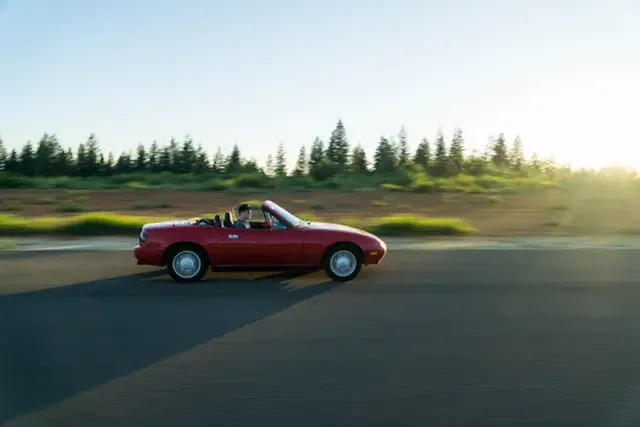
Portraying motion in the photos
In our final chapter, we're delving into the dynamic realm of motion in photography. From freezing fast-paced action to capturing the graceful flow of movement, this technique adds a sense of energy and vitality to your images. Join us as we explore the various ways to depict motion, master shutter speed, and tell stories that come to life through the lens of time. Get ready to capture moments that resonate with movement and emotion.


4. Use a long lens: Using a long lens can help you portray motion in a photograph by isolating the subject and blurring the background. A long lens can also compress the perspective, making the subject appear closer to the background.

5. Consider the lighting: The lighting in a photograph can also affect how motion is portrayed. Using a flash can freeze motion in the image while using available light or continuous light sources can blur motion in the image.
Conclusion
Congratulations on completing your journey through the world of photography composition techniques! Each chapter has been a step toward honing your skills and mastering the art of crafting compelling images. From the foundational Rule of Thirds to the dynamic Depiction of Motion, you've explored a diverse array of tools that can transform your photographic style.
As you continue your photographic journey, remember that these techniques are not rigid rules but rather creative guides that you can adapt and blend to suit your unique vision. The beauty of photography composition lies in its ability to empower you as a storyteller, allowing you to evoke emotions, convey narratives, and capture moments in ways that resonate deeply with your audience.
Now I’d like to hear from you: Share your thoughts on the techniques that resonated most with you in the comments below. Which composition technique do you think will become an integral part of your photography style?
Don't forget to spread the magic by sharing this post.